To make your very own maple syrup all you need is few maple trees, a basic understanding of how to collect sap and space and tools to boil down the sap you collect, and voila! You will have made your very own high-quality maple syrup.
When it comes to equipment, the tools that you need are easy to purchase, and some may be in your very own kitchen. You’ll need:
- A large pot or pan for boiling the sap
- Cotton and felt for filtering sap and syrup
- Canning jars or bottles for storing syrup
- A cooking thermometer with an easy-to-read scale that extends several degrees past the boiling temperature point of water. Make sure that your thermometer reads in single degrees, whether that is Fahrenheit or Celsius.
Some other utensils that will be useful later on when you are ready to make the maple syrup are sieves, oven mitts and slotted spoons, all of which you can find in the kitchen. As for the other tools you can find them at a local farm supply, hardware store or maple syrup producer – but keep in mind, all equipment must be food-grade quality and will need to be cleaned with one-part bleach and 19 parts water.
Something to be aware of before starting to boil down your sap is that in order to make a gallon of maple syrup you will need 20-60 gallons of sap. This number varies depending on how what the sugar content is in the sap. Once you have gathered enough sap you can start boiling it down!
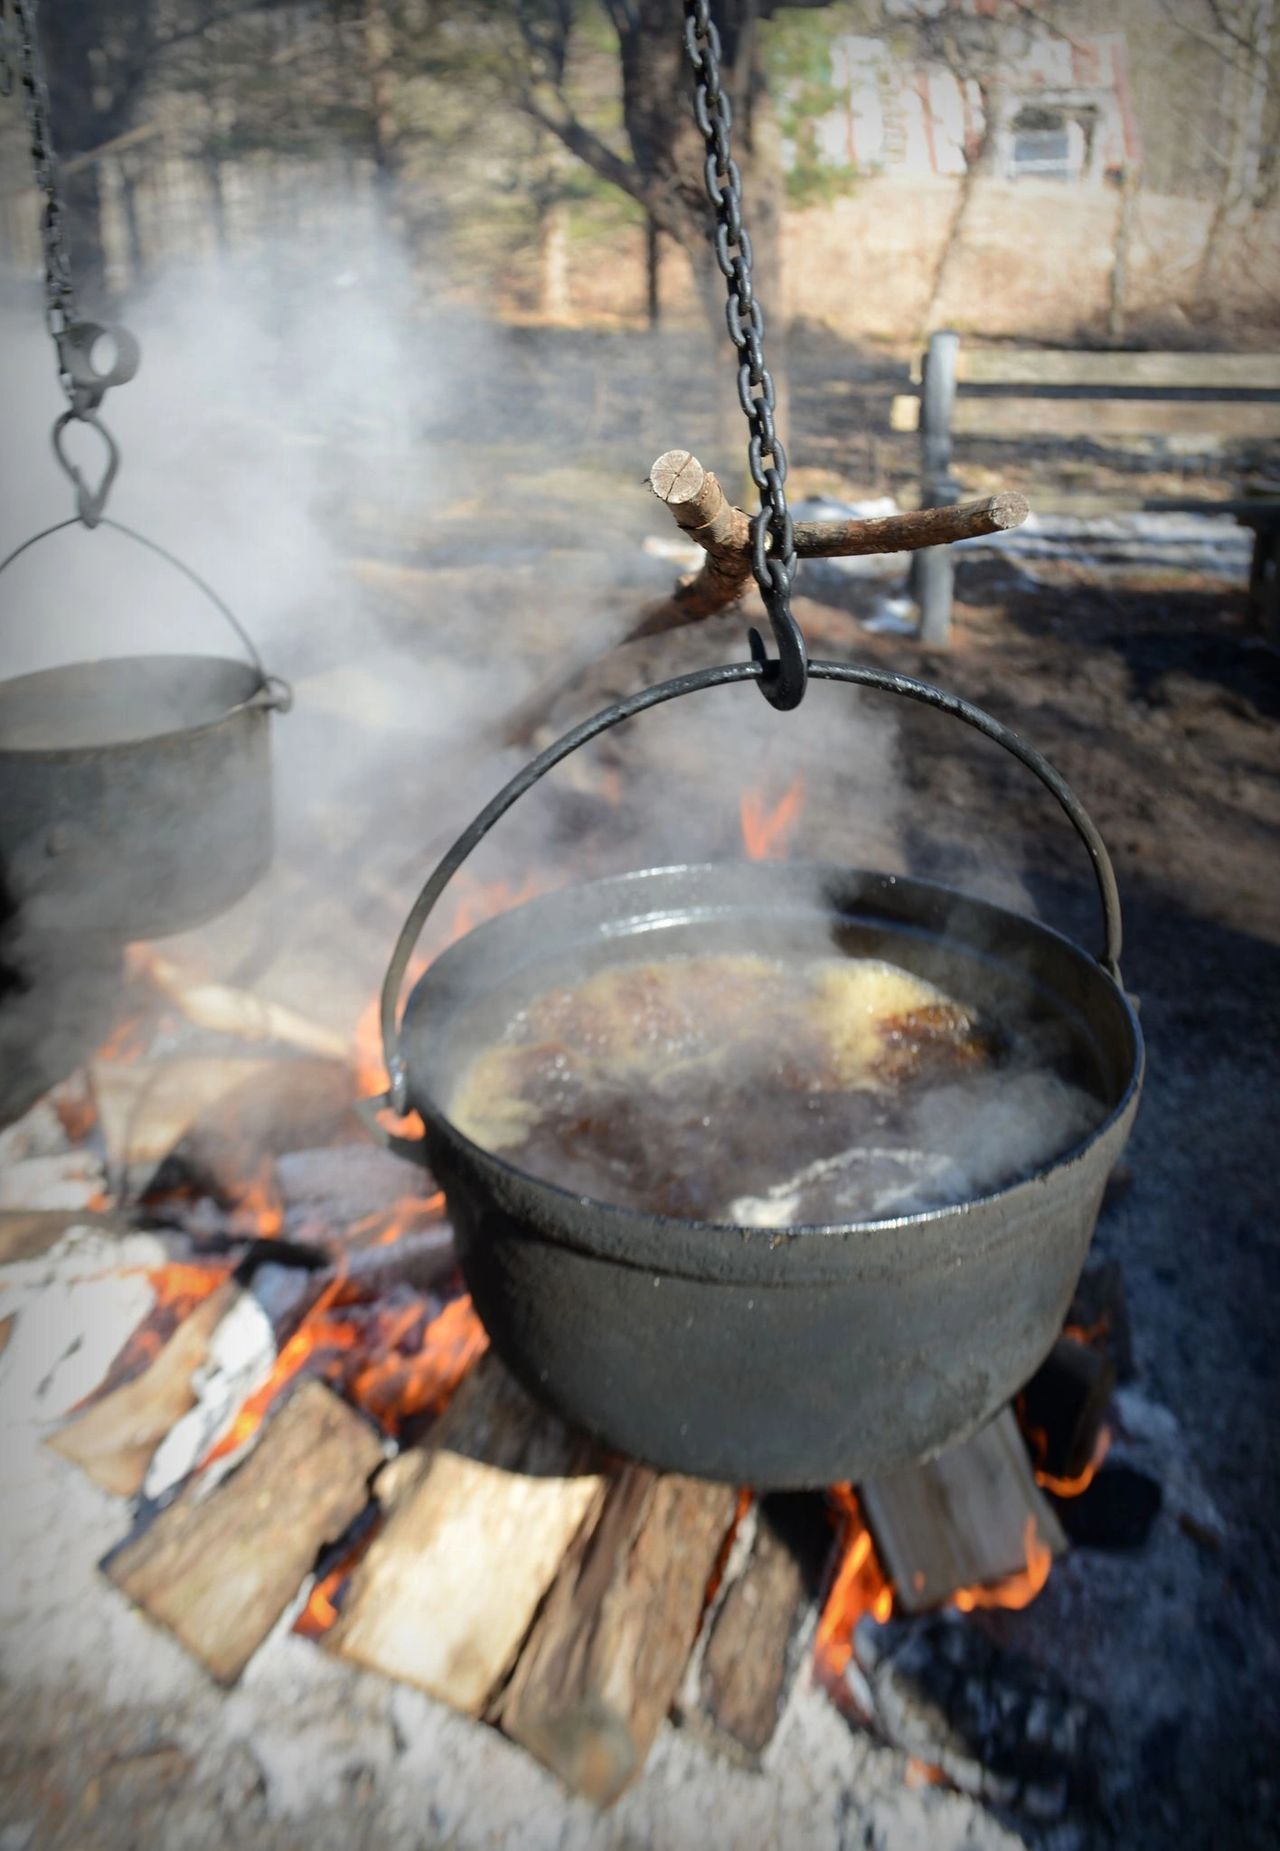
Sap can be boiled indoors or outdoors. If you choose to boil it outdoors check local bylaws to see if there are any restrictions that might affect boiling outside. To boil outdoors you will also need a good supply of dry wood; cedar and pine are good choices because they burn hot quickly, allowing you to control the rate of boiling.
If you choose to boil indoors be aware that for every litre of maple syrup produced, 30 to 40 litres of moisture will be boiled off, meaning the amount of steam coming off could cause condensation problems indoors.
To start the boiling process simply pour the sap into your chosen pot or pan. To prevent scorching always have at least three centimetres of sap in your pot. As the sap becomes more concentrated it will begin to foam and threaten to boil over the top of the pot; to slow this down you can add a drop of vegetable oil or milk to lessen the foam.
Scum is always going to form on the top of the boiling sap. Use your sieve or slotted spoon to skim the scum off of the top.
You will need to boil the sap until it has a sugar content of 66 per cent. At this sugar density, the sap will be boiling four degrees Celsius above the boiling point of water, which is about 100 degrees Celsius.
It is important to get the sugar content relatively right because maple syrup with a lower sugar content can spoil if you are storing it for long periods, while maple syrup with a higher sugar content will crystallize. Maple syrup that has crystallize can simply be boiled and then used.
Now that the sap has boiled down to maple syrup all you need to do is filter it and bottle it. Use orlon or felt for the filter which must be washed with hot water and no soap. The bottles must also be cleaned and rinsed. Boil the maple syrup to a temperature between 82 and 88 Celsius before pouring it into the jars and bottles, which will help sterilize the bottles as you pour the syrup into it.
Congratulations! You have now made your very own maple syrup! All this work really makes us appreciate everything that our local maple syrup producers do to make sure we have constant access to delicious liquid gold.


